
What Are Roof Penetrations and Why Do They Matter in Clifton Springs, NY?
Roof penetrations are any spots where pipes, vents, skylights, cables, chimneys, or other elements pass through the roof’s surface. In Clifton Springs, NY, where weather frequently brings snow, rain, and freeze-thaw cycles, these openings can be vulnerable points for leaks. Proper sealing keeps water out and helps area households avoid issues like attic mold, rot, and insulation damage.
Common roof penetrations include:
- Plumbing vent stacks
- Gas appliance exhaust vents
- Bathroom or kitchen exhaust ducts
- Electrical or solar panel wiring
- Skylights and chimneys
Even small gaps can allow moisture to work its way beneath shingles and flashing. Since the city’s winters often produce heavy snow and ice dams, unsealed penetrations may lead to costly repairs if water gets inside.
How Do You Identify Roof Penetration Leaks?
Most Clifton Springs homeowners spot penetration leaks during or after storms—or when water stains appear inside. Some clues are subtle, so checking the attic during wet weather can help.
Signs that a penetration might be leaking:
- Dripping or staining around interior vent pipes or fan housings
- Discolored ceiling spots, especially under plumbing vents
- Unusual musty odors after heavy rainfall or snowmelt
- Peeling paint near vent stacks on the roofline
A careful rooftop inspection during dry weather can reveal:
- Cracked or missing sealant at vent bases or pipe collars
- Damaged rubber gaskets (pipe boots) that have shrunk or split
- Lifting shingles or flashing around skylights and chimneys
What Materials Are Used to Seal Roof Penetrations in the Region?
Roofs in Clifton Springs are typically asphalt shingle, with most penetrations sealed using one or more of the following:
- Roofing-grade caulks and sealants (polyurethane or quality silicone)
- Neoprene or rubber pipe boots (for vent stacks)
- Metal or rubber flashing
- Roofing cement (for certain flat or low-slope roofs)
It’s important to choose materials rated for northern climates—ones that won’t become brittle or peel in freezing weather. Avoid generic hardware-store caulks as they can crack after a few winters.
What’s the Standard Process for Sealing Roof Penetrations?
Sealing a penetration is usually a straightforward yet detail-oriented project. Here’s an overview of the process residents use:
1. Inspect the Area
Ensure the roof surface is dry and clear away all debris, dirt, and old, loose sealant.
2. Check Existing Flashing and Pipe Boots
Replace any damaged rubber boots or corroded flashing. In the city, freeze-thaw cycles can degrade materials faster than many expect.
3. Apply the Right Sealant
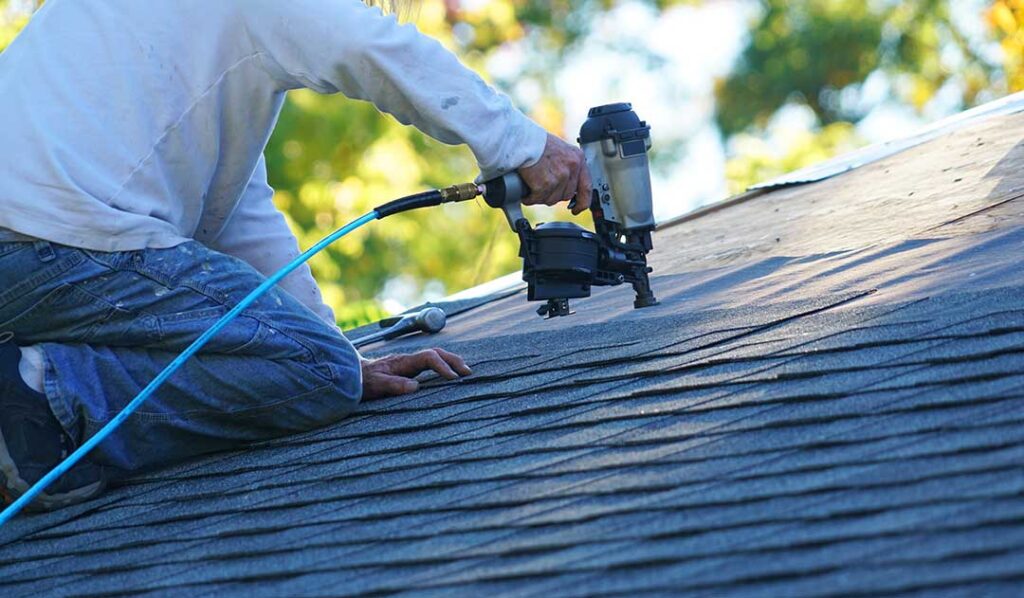
For most vent pipes, apply a continuous bead of high-quality, UV-resistant roofing sealant where the pipe emerges from the boot and where the flashing meets the roof. Make sure to fill any small voids around the base.
4. Secure Shingles and Flashing
Ensure surrounding shingles are properly layered over the flashing. Any loose shingles should be carefully re-adhered to avoid future water intrusion.
5. Double-Check Details
Wipe away excess sealant and inspect for gaps. On metal components, pay special attention to corners and mounting points.
Residents without roof experience should be aware that basic safety equipment is essential when working on steep or slippery surfaces.
What Happens If Roof Penetrations Aren’t Properly Sealed?
In Clifton Springs, unsealed or poorly-sealed roof penetrations often lead to specific problems:
- Leaks during freeze-thaw conditions or heavy rain
- Damage to attic insulation and framing, inviting mold
- Higher heating costs due to insulation loss
- Premature roof aging around penetration points
Winters with frequent snow accumulation can aggravate these issues, causing water to back up under flashing and enter through unsealed gaps.
Are There Special Considerations for Older Homes in Clifton Springs?
Many homes in the community have original roofs or older plumbing components. In these structures:
- Metal vent pipes may have rust at the base, making sealant alone insufficient—replacing corroded flashing is often necessary.
- Masonry chimneys need dedicated flashing, counter-flashing, and careful sealing between bricks and roof materials, as settling and seasonal shifts can open new gaps.
- Attic spaces without adequate vapor barriers are especially vulnerable. Moisture that enters through penetrations can quickly lead to attic frost and water stains after a thaw.
Residents who encounter deteriorated vent stacks, crumbling masonry, or deep roof cracks should take extra caution. In some circumstances, addressing structural or code issues may require more involved work or professional advice.
How Can Homeowners Maintain Sealed Penetrations Over Time?
Sealed penetrations need regular checking. Local experience shows that annual or post-winter inspections can prevent small leaks from creating major problems. Tips for ongoing upkeep include:
- Look for cracking, shrinkage, or missing sections of sealant each spring
- Check that pipe boots remain flexible—they should not appear dry or brittle
- Inspect attic spaces for water damage after significant storms or wind-driven rain
- Clear debris (leaves, branches) from around roof penetrations to avoid ponding
With timely repairs, most sealants and boots last 5–10 years. Local weather can shorten that lifespan, especially on sun-exposed south-facing roofs.
What Common Mistakes Should Be Avoided?
Mistakes during DIY sealing are usually easy to prevent:
- Overusing sealant without addressing damaged flashing—a temporary fix at best
- Neglecting to remove failing, loose, or cracked old caulk before adding new sealant
- Using indoor caulks or inferior latex that peel in cold weather
- Ignoring small gaps where flashing and shingles meet
For complex rooflines or if there’s visible structural damage, more extensive repairs may be needed to ensure a lasting seal.